
You may want to share gorgeous photographs online to bring social shares. To make your artworks more attractive, framing photos is a very good idea. Many professional photographers would like to add frames around their photos, which is a perfect finishing touch to photos. If you are a photo editing beginner and do not know how to do the work, please continue reading this article. In the upcoming parts of this article, I will show you three methods to create photo frames.
Method 1. Create photo frames with Photoshop
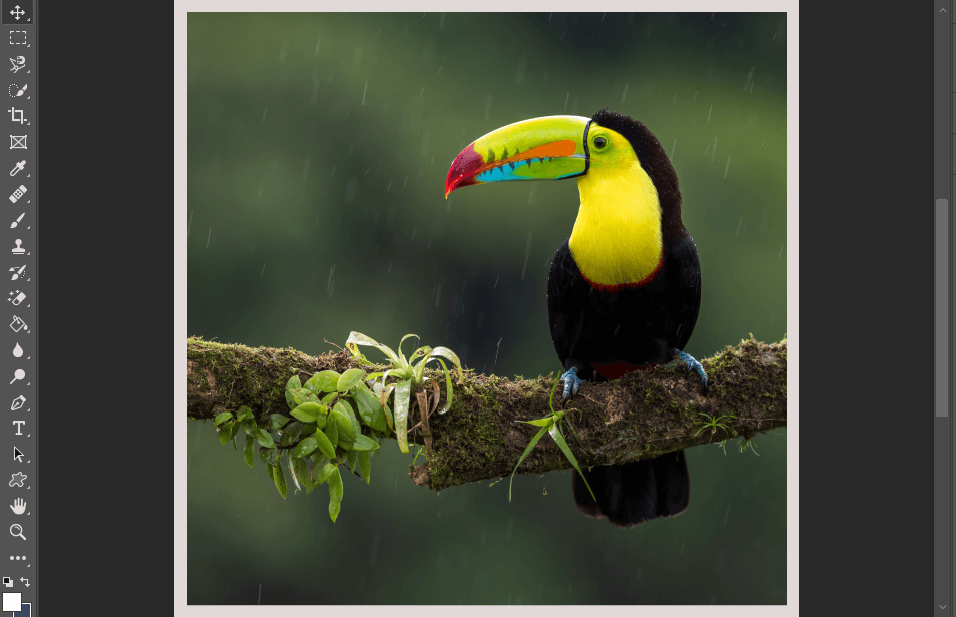
- Fire up Photoshop and throw your photo into the program.
- If there are multiple layers in the "Layers" panel. Go to the top menu bar. Click on "Layer"->"Flatten image" to put all things on the "Background" layer. If there is only a "Background" layer, move ahead.
- Click on "Layer", go to "New", and select "Layer from Background". The "New Layer" dialog box will appear. Click on "OK". This step will make it easy to customize the frame color.
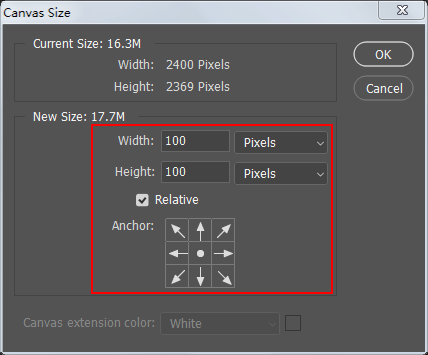
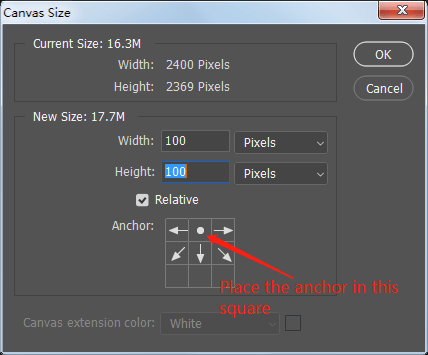
- Click on "Image"->"Canvas Size". The "Canvas Size" dialog box shows up. Make sure the "Relative" box is checked. Type in number in the "Width" field and the "Height" field respectively. This will specify the thicknesses of the side frames, top frame, and bottom frame. Go to the "Anchor" section to adjust the anchor position. The anchor position determines where frames will be created, which will result in different frame looks. I want the frames at the bottom, top, and side to have the same thickness. So, I set both the width value and height value to 100px. Keep the anchor placed in the center square. Click on "OK".
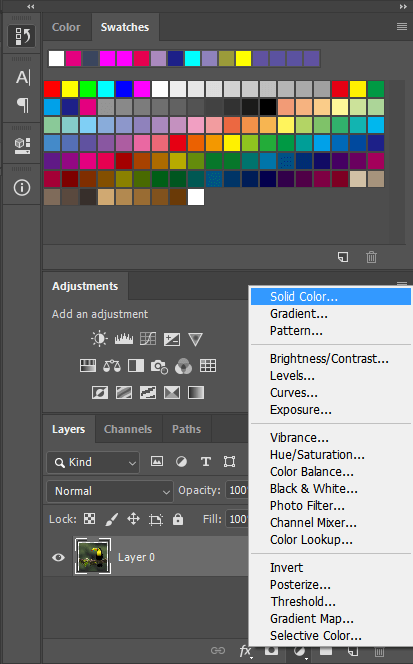
- Go to the bottom of the "Layers" panel. Click on "Create a new fill or adjustment layer" icon and select "Solid color".
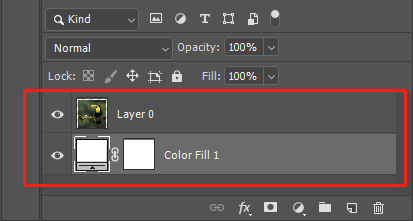
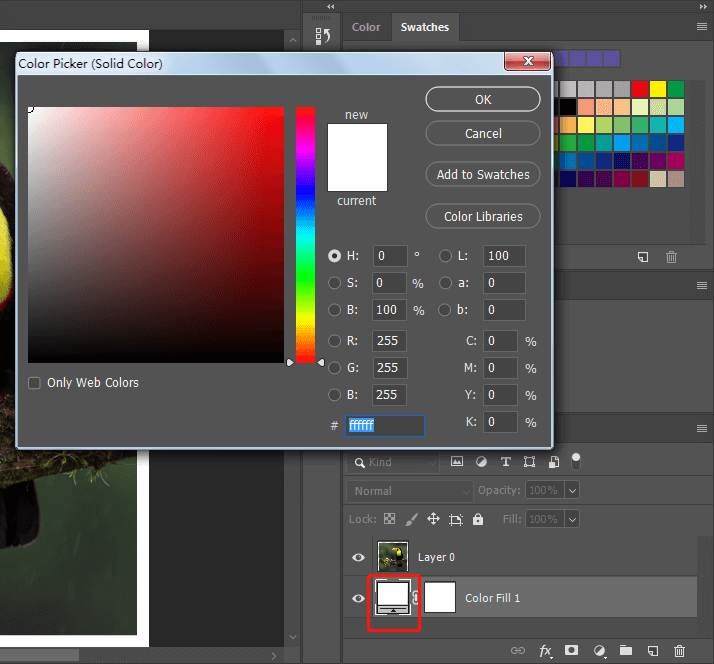
- The "Color Picker" dialog box shows up and the photo is covered by the foreground color. Click on "OK" in the "Color Picker" dialog box. Drag the "Color Fill" layer below the image layer in the "Layers" panel.
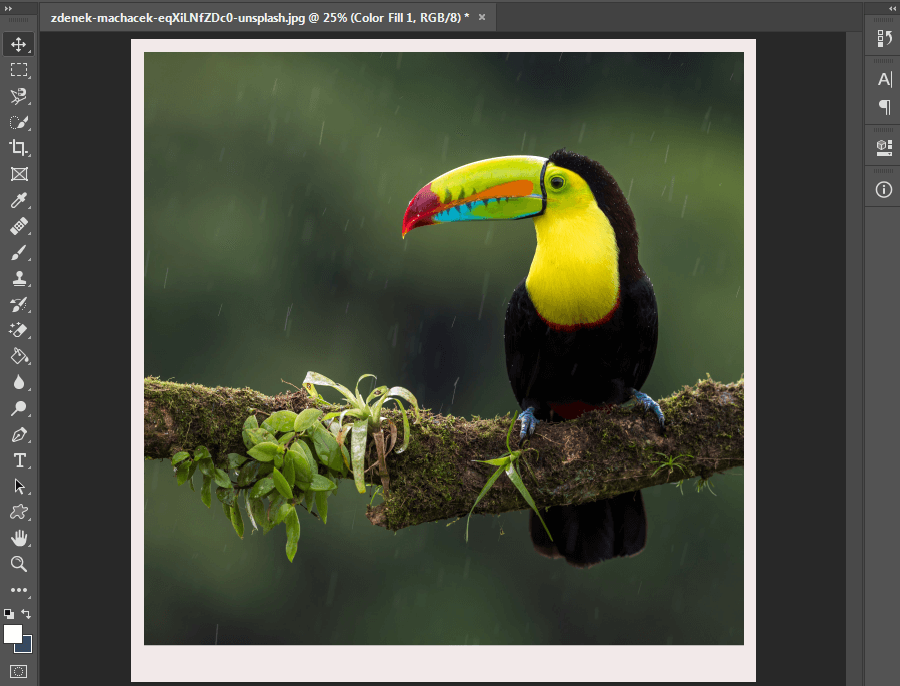
- You will see the frames have been added to the photo. Now, you can change the frame color. Double-click on the thumbnail of the "Color Fill" layer to open the "Color Picker" dialog box. Choose a color you want.
- Finally, click on "File"->"Save as" to save the framed photo.
- Maybe you don't want four frames to have the same thickness. Let's say, you want the bottom frame to be thicker than other three frames. Let me show you how to get this effect by adjusting the anchor location in the "Canvas Size" dialog box. Click on the square in the first row and second column to place the anchor in this square. Set the values of the width and the height. Click on "OK".
- Open the "Canvas Size" dialog box again. Place the anchor back in the center square. Set the height value.
Photoshop enables you to add frames to your photo. But doing so requires a certain level of expertise. If you want an easier way to frame your photo, I think BeFunky is what you should go for to get your job done. BeFunky is an all-in-one platform that covers every photo processing requirement including digital photo framing. It offers a wealth of photo frames that raise the appearance of your photo.
Method 2. Create photo frames with BeFunky

- Press "Get started" on the webpage and you will be taken to an online image editor.
- Click on "Open"->"Computer" to upload your photo.
- In the left-hand "Frames" pane, there are an array of fantastic frames like "Border", "Drop", "Shadow", "Decorative", "Vintage", "Art Deco", "Floral", "Rustic", "Ornament", "Grunge", and "Realistic".
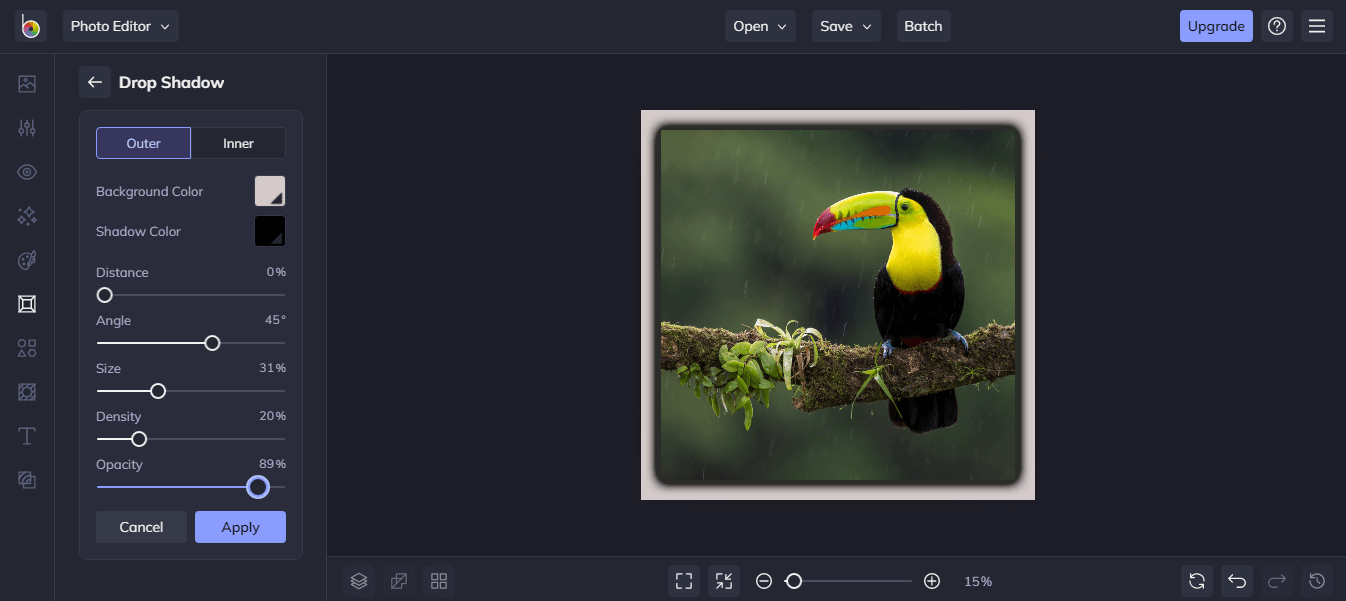
- You can experiment with different photo frames to get the desired result. Personally speaking, I prefer the "Drop Shadow" frame. Choose "Drop Shadow". In the "Drop Shadow" panel, you can tune the frame effects by tweaking advanced options. Pick a background color and a shadow color as the color of the outer frames and the color of the inner frames. Move the "Size" slider to adjust the sizes of the outer frames and the inner frames. Pull the "Opacity" slider and the "Density" slider to adjust the opacity and density of the inner frames. You are also allowed to adjust the spacing between the edge of the outer frame and the edge of the photo. Drag the "Angle" slider to set the angle value. Then, drag the "Distance" slider and the photo will move at the specified angle.
- If you want to discard the effect applied to the photo, go to the bottom right corner of the editor and click on the "Undo" icon. When all is set, click on "Save"->"Computer". Specify the size and format for the output image and press the "Save" button to download the framed photo.
Method 3. Create photo frames with Photo Stitcher
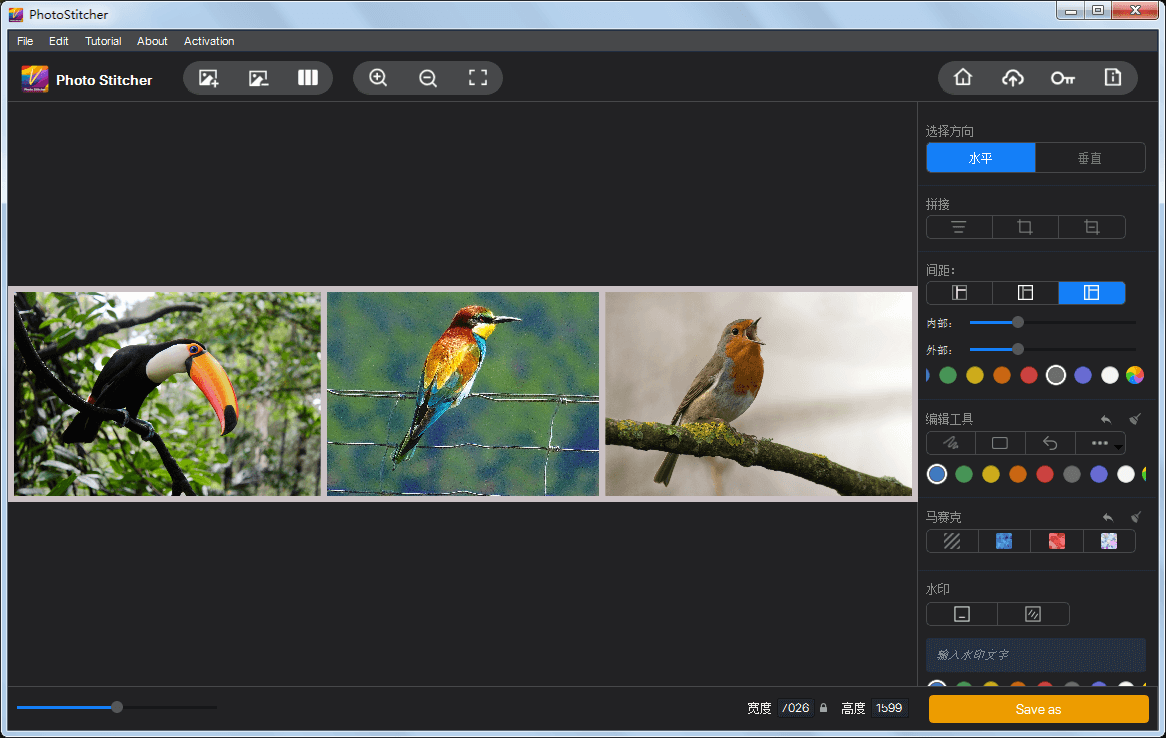
If you want to stitch several photos together and frame the stitched photo, give Vertexshare Photo Stitcher a shot. This standalone software program is a professional photo collage creator. It allows you to add frames around the stitched photo and frames between adjacent photos to form the stitched photo.
- Launch Photo Stitcher. Go to the right-side panel. Choose the direction in which you stitch photos in the "PICK DIRECTION" section.
- Import your photos. Click on "Edit"->"Fit Screen" to make them fit the preview panel if needed.
- In the right-side panel, go to the "SPACING" section. Choose the right option. Drag the "Outer" slider and the "Inner" slider to adjust the sizes of the outer frames and the inner frames. You can customize the color of the frames on the palette.
- Press the "Save as" button to export the stitched photo to a PNG or JPG.
Method 4. Create photo frames with Microsoft Word 2016
If you are not a professional in using Microsoft Word, you probably do not know that you can use Microsoft Word to create photo frames. You can insert a photo into a Microsoft Word document, add frames to it, and export the photo. Follow the steps below to create photo frames in Microsoft Word 2016.
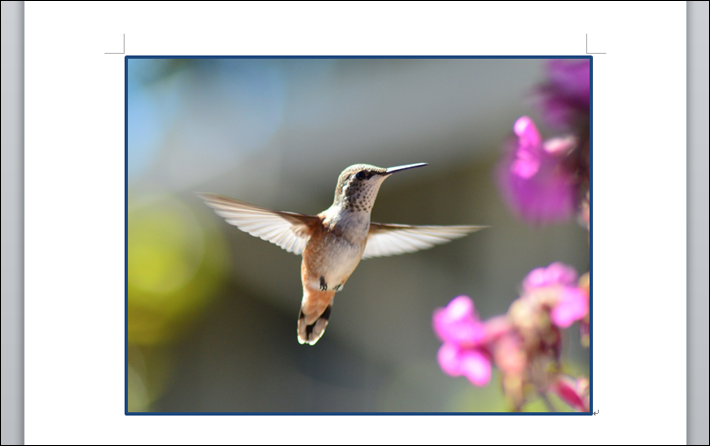
- Open Microsoft Word 2016. Copy and paste your photo into it.
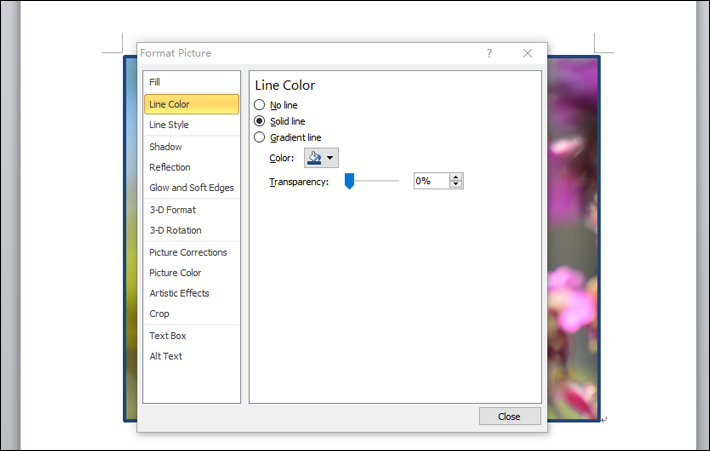
- Right-click on the inserted photo and choose "Format Picture".
- Go to the "Line Color" tab. Then, you can select "Solid line". Choose a color and set the transparency. The frames will be added around the photo.
- Go to the "Line Style" tab. Here you can adjust the line width to set the thickness of the frames.
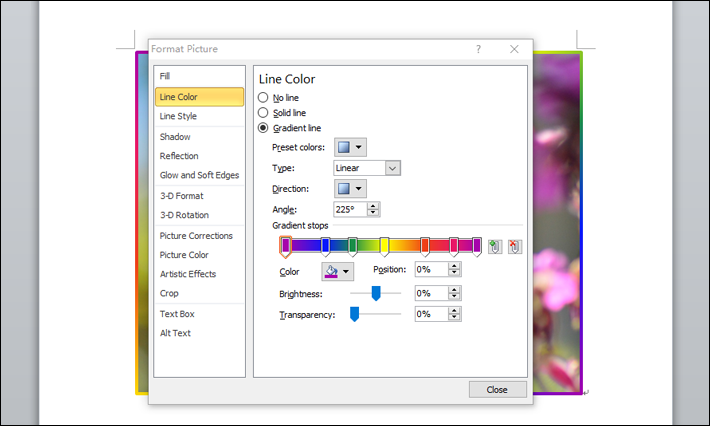
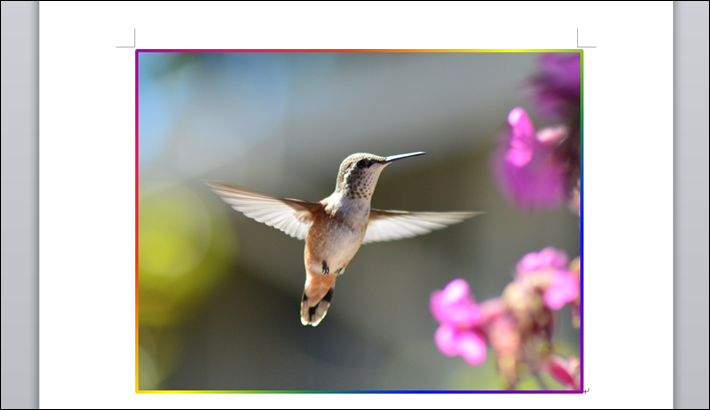
- If you choose "Gradient line" on the "Line Color" tab, you will get the photo frames with a gradient effect. There are many preset colors for you to choose. The other options you can tweak include "Type", "Direction", "Angle", "Gradient stops", "Color", "Position", "Brightness", and "Transparency".
- Click on "File"->"Save as". Then, choose "Webpage" in the "Save as type" menu. Specify the desired location and save the file. An HTM file and a folder will be generated. Open the folder and you will see the framed photo.
Conclusion
Photo frame is a very good photo effect that levels up photographs. A growing number of people take photo framing as a necessary touch to make photos look awesome. This article introduces four methods to make photo frames. If you like this tutorial, share it with your friends.