Stitching images together is what you need to do every now and then. You went out sightseeing to many countries and took gorgeous photos. Sharing them on your social media page is a good idea to boost engagement. Putting them side by side in one photo is more eye-catching than showing them individually. When you try to take a screenshot, you may find that you can only capture separate parts of the area because the area is too long. Finally, you have to combine them to make a scrolling screenshot. Your company has recently rolled out a new app. As an operation specialist, after making several vertical images, each of them introducing a feature of the app, you will need to merge them horizontally to create a poster. When it comes to image stitching, you may wonder if you can lean in favor of Photoshop. The answer is yes. But using Photoshop is not the easiest way to do this. In this article, I'll introduce a photo collage creator to you with which you can collage images with minimal effort.
Photo Stitcher 4.0.1.0
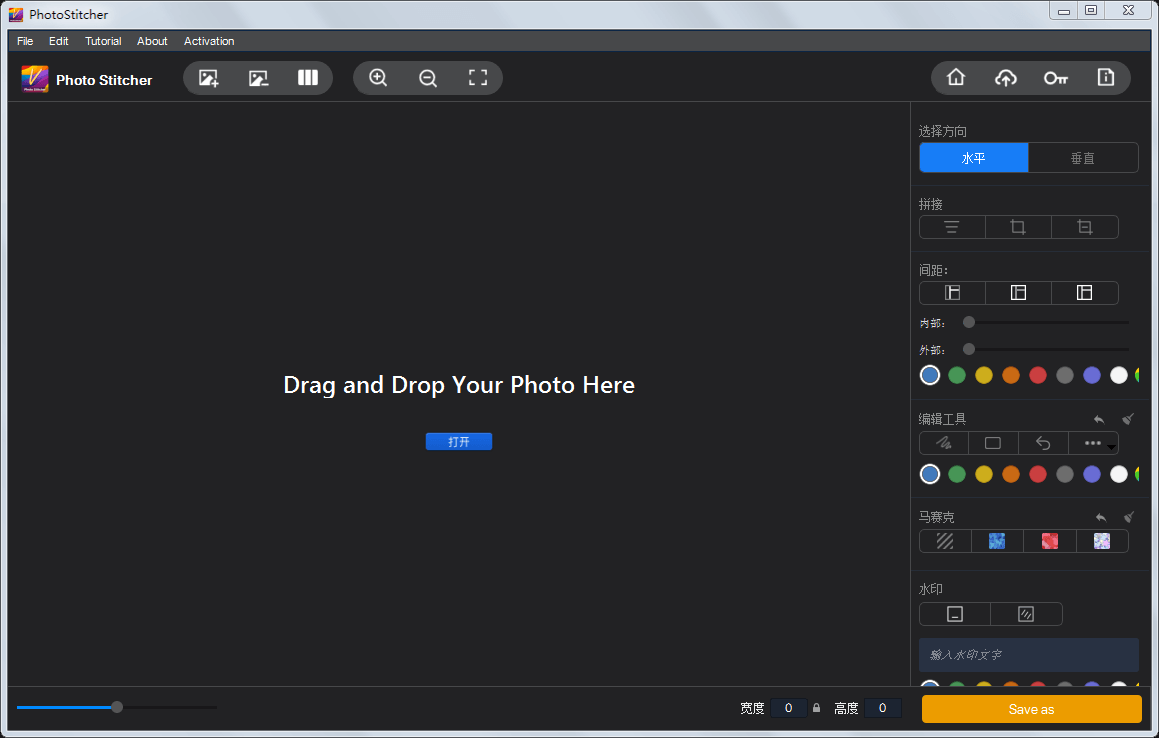
Photo Stitcher is a lightweight image editing app released by Vertexshare. It has two features. One is to help you merge an unlimited number of images vertically or horizontally to get a seamless collage. The other one lets you retouch your photo with its built-in editing tools. I am going to teach you how to use its abundant functions in the following parts.
Merge images together
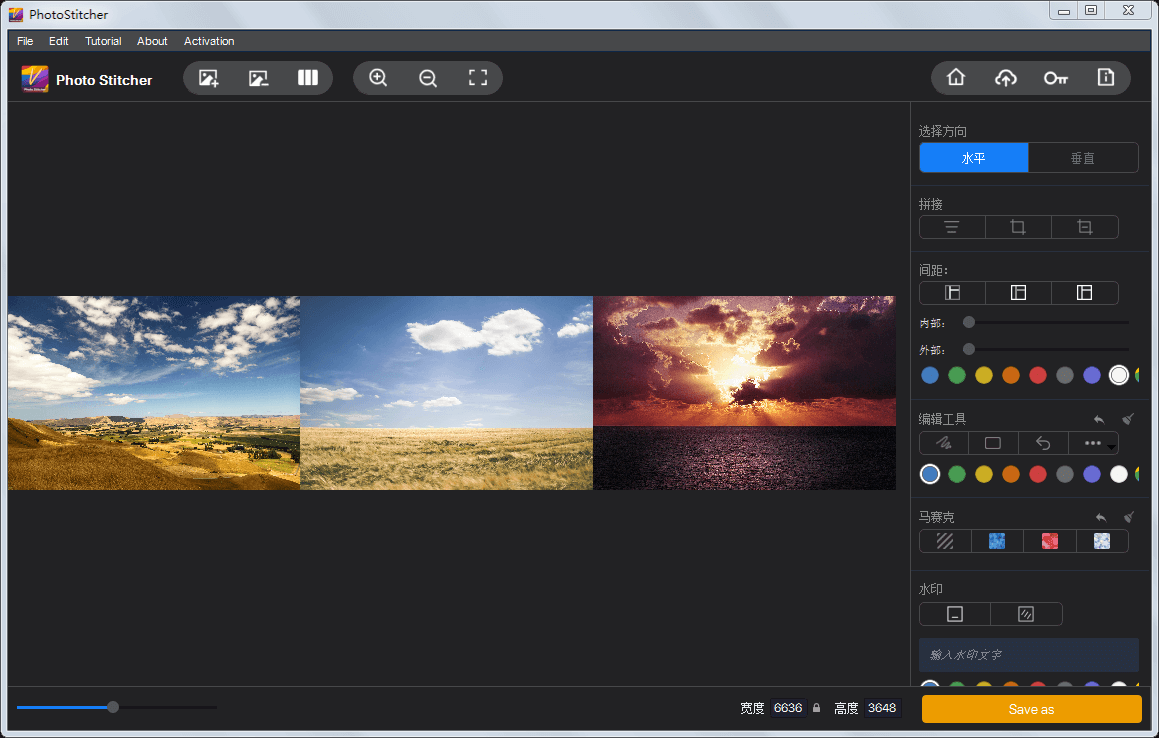
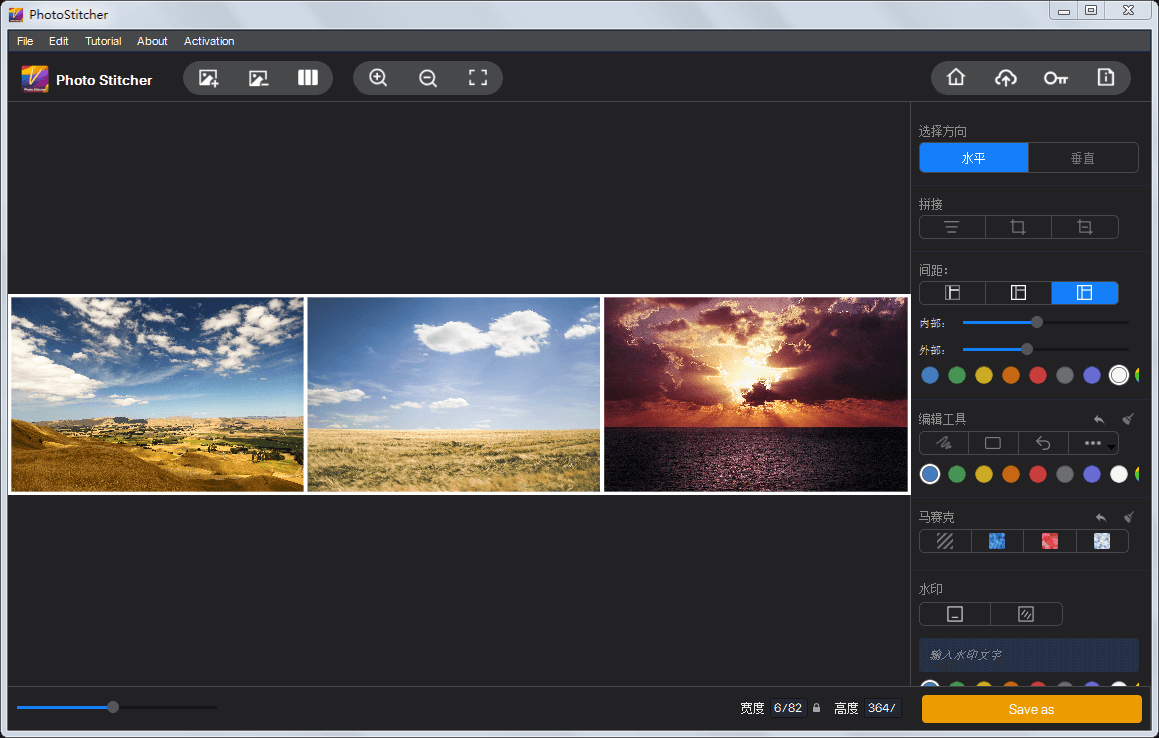
Launch the program and go to the right-side panel. In the "PICK DIRECTION" section, you can choose "VERTICALLY" or "HORIZONTALLY" to decide how to place the photos to be merged. Then, import your photos into the program and you will see a collaged one in the preview panel.
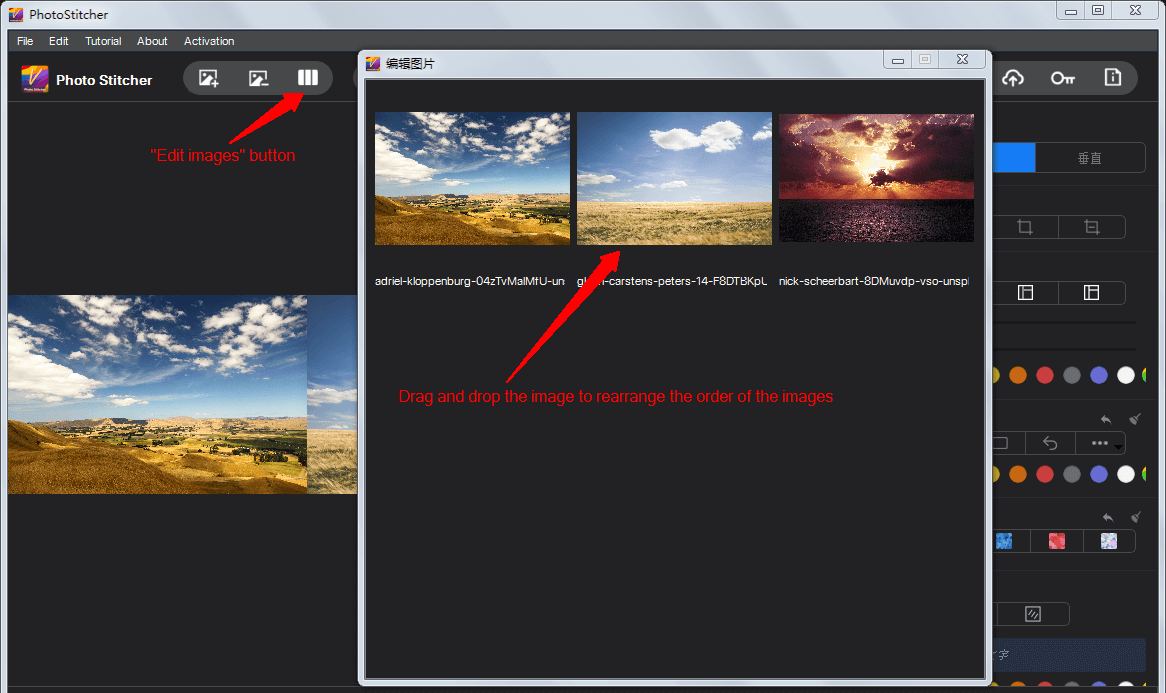
To make the collaged image fit the panel, you can either click on "Edit"->"Fit Screen" or use the zooming slider at the bottom left corner of the window. Maybe the images you want to merge are not arranged in the desired order. Click on the "Edit image" button next to the "Remove" button. The "Edit images" panel shows up. Drag and drop images to rearrange them in this panel. In this panel, you can also right-click on the unwanted image and choose "Delete" to remove it from the collaged image.
You are allowed to resize your collaged image. Go to the bottom of the window. You can see that either the width or the height of the collaged image is locked. If you stitch images vertically, you can change its width. If you stitch images horizontally, you can change its height.
When you are ready, press the "Save as" button to export the stitched photo. The robust engine ensures that the merging process will be done within seconds.
It is super easy to merge images using Photo Stitcher. What Photo Stitcher is able to do is more than stitching multiple images into a collage. I am going to show you other tasks it is able to handle.
Add photo frames
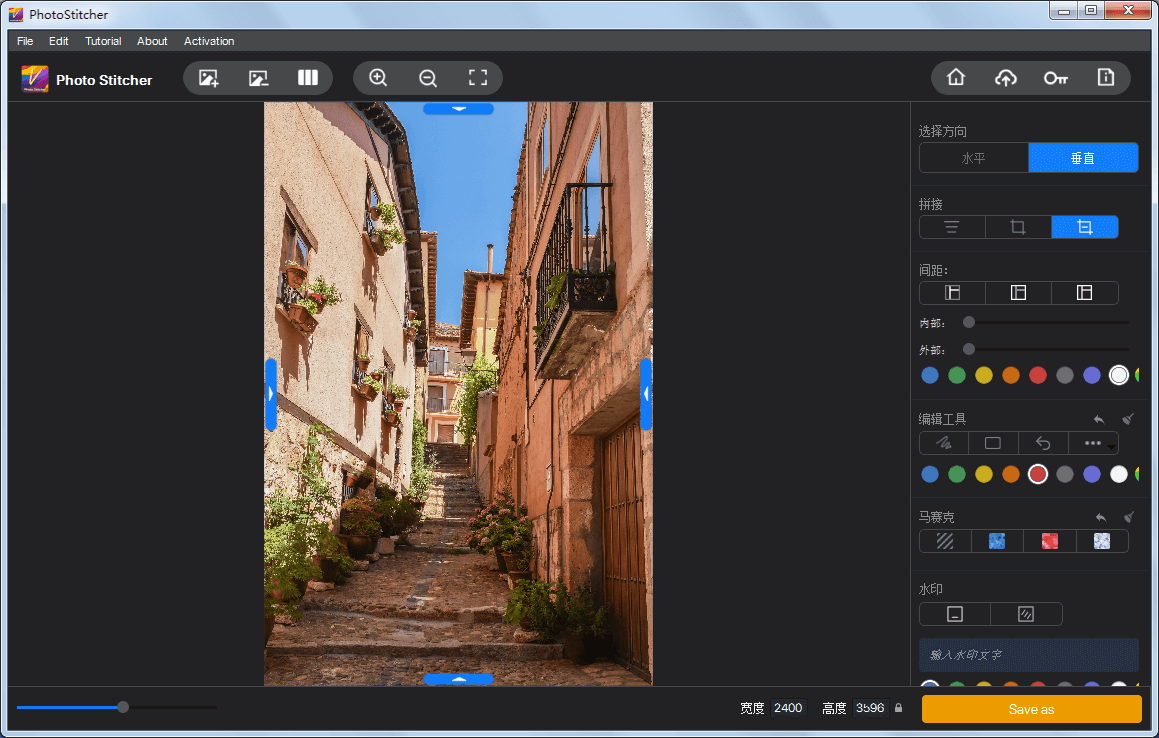
If you feel your photo lacks punch, you can level up your photo with frames to make it pop. Go to the "SPACING" section. There are three options. The left one lets you add frames around the image. The middle one lets you add frames between the adjacent images to form the collaged image. The right one lets you add both outer frames and inner frames to your collaged image. Drag the "Inner" slider and the "Outer" slider until the widths of the frames suit your needs. Pick a color on the palette to specify the color of the frames.
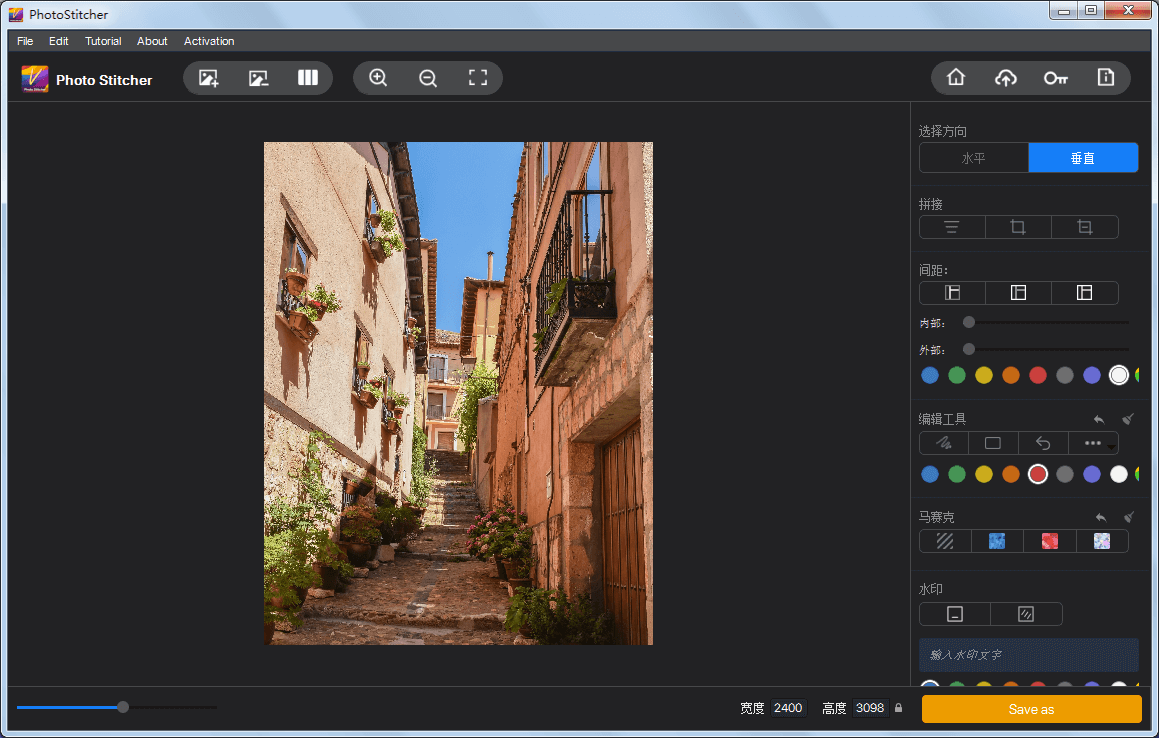
Crop your image
Unnecessary elements in your image will distract viewers' attention. You can harness the cropping tool of Photo Stitcher to remove unwanted areas from your image.
Go to the "STITCHING" section. There are three cropping options in this section. The left option is to crop the image from bottom and top. The middle option is to crop the image from the top, bottom, and side. The right option is to crop the image from the top, bottom, and corner. Select one option and you will see the arrow buttons. Click on one arrow button. Click somewhere on the image and hold down the mouse button. Drag leftwards, rightwards, downwards, or upwards to delete the areas you don't want. Clicking on one arrow button will make other buttons disappear. To make other buttons show up, you have to click on the current arrow button again. If the middle option is selected, dragging leftwards or rightwards will remove the left-side areas or right-side areas. If the right option is selected, doing so will remove the areas along the diagonal line.
Two things to note. One thing is about removing areas from the side. If the image is placed vertically, dragging rightwards doesn't work for removing the right-side areas. To remove the right-side areas, you should drag leftwards instead of rightwards. I think this is a bug. The other thing to note is about switching the cropping options. You selected one option and cropped the image. After you select another option, you will have to double-click on the arrow button to activate cropping.
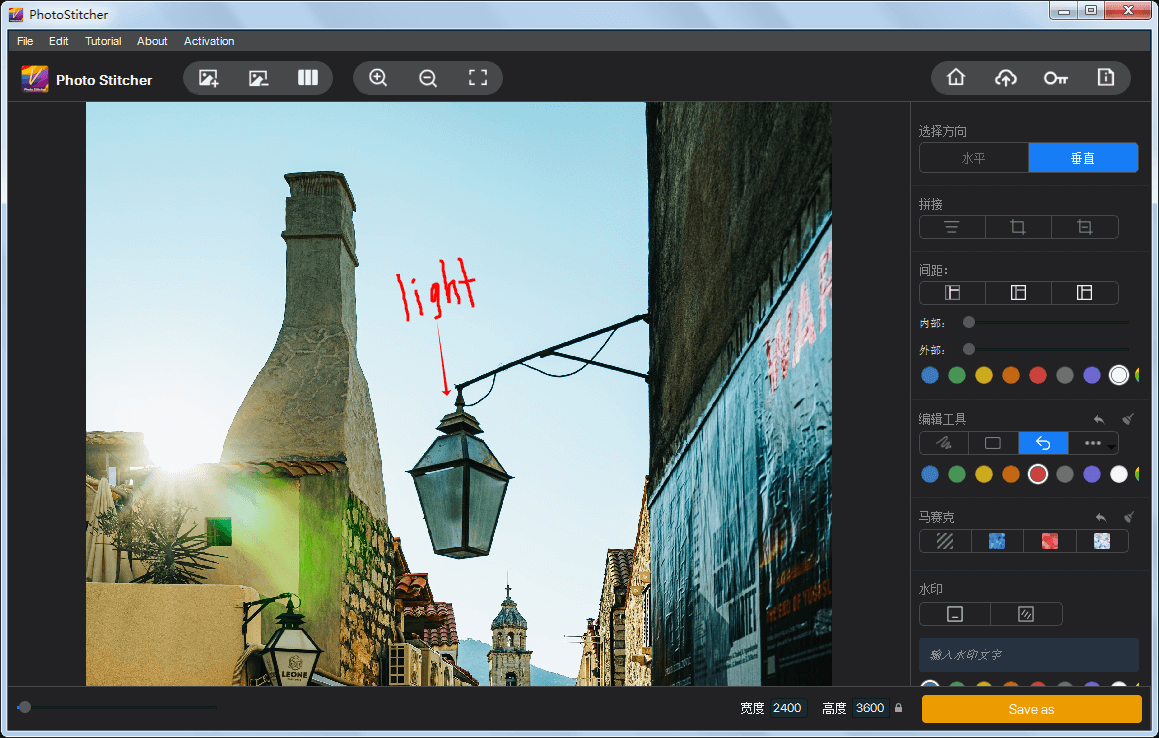
Make annotations
There are times when you want to annotate your image. You need to point out a menu in the window of an app in a screenshot, label a famous building in your photo, or make a navigation instruction. Photo Stitcher allows you to draw rectangles, arrows, and free-from shapes on the image. You can use the shape drawing to make annotations on your image.
Go to the "EDITING TOOLS" section. Choose the free-hand line option. Open the three horizontal dots menu and choose a desired thickness of the lines you will draw on the image. Pick a color on the palette as the color of the lines. Click somewhere on the image and hold down your mouse button. Drag to write words. You do this the same as you draw free-form shapes with the "Pencil" tool in MS Paint. Then, click on the arrow icon. Specify the thickness and the color of the arrow. Click beside the words and draw an arrow pointing to the target object.
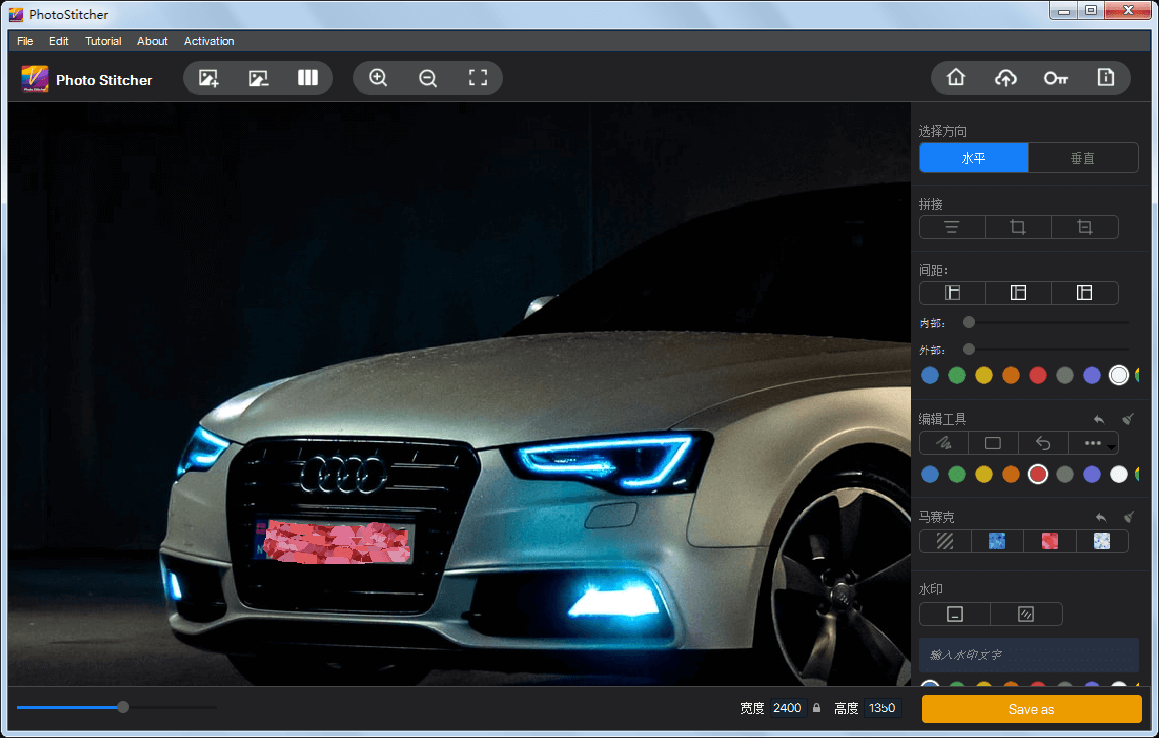
Mosaic a particular area of your image
You may occasionally include the personal information in the image. When writing a how-to tutorial, you take a snapshot of the directory where WordPress is installed. The snapshot shows the domain of your website. Or you and your friend stand by your car and you have someone take a photo of you and your friend. The photo reveals the license plate number of your car. You can hide your privacy by adding a mosaic effect to a particular area of your image in Photo Stitcher.
Go to the "MOSAIC" section and you can see four types of mosaics. Select one type of mosaic you like. Hover your mouse cursor over the part you want to mosaic. Click on the image and hold down the mouse button. Drag back and forth to add the mosaic effect.
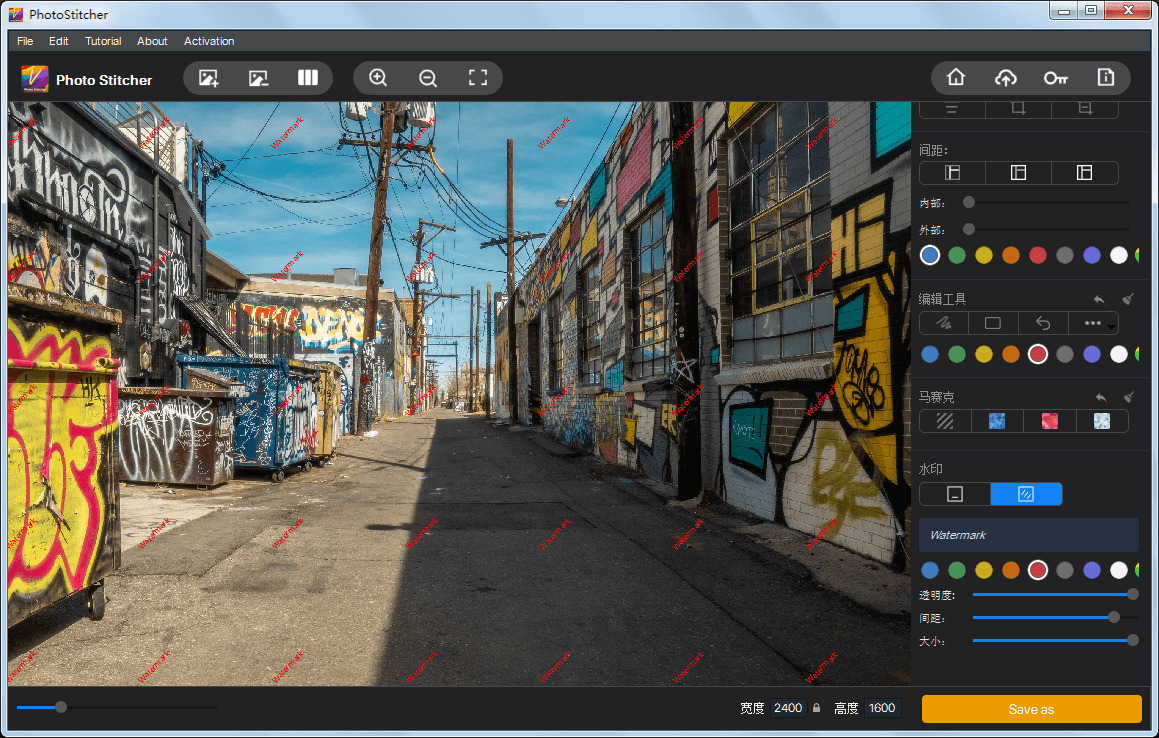
Watermark your image
In consideration of protecting your copyright, you may want to watermark your photo. Photo Stitcher allows you to add a single text watermark to the bottom of the photo or repeated watermarks to the entire photo.
Scroll down in the right side panel and you will see the "WATERMARK" section. Choose one watermarking style. Type in words in the box. Choose a color for the watermark. Adjust the size and opacity of the watermark. You can also customize the spacing between repeated watermarks. To be honest, for a photo, with a large dimension, even though you maximize the single text watermark, it still looks very small and is barely visible. This is a drawback of Photo Stitcher and developers should improve the function of size adjusting.
Verdict
Regardless of whether you want to make a long and scrolling screenshot or put several photos side by side in one image, Photo Stitcher is worth a shot. It doubles as an image editor and offers extensive tools to touch up your image. Its official site claims that it is able to blend photos to make a panorama. I put Photo Stitcher through its paces. Sadly, Photo Stitcher 4.0.0.1 loses this feature. Hope this issue will be fixed in future updates. On the whole, I give 4.5 out of 5 to Photo Stitcher. It does not have steep learning curves and is very suitable for beginners.
Recommended Reading
Save YouTube videos to your computer with two apps
Fast convert video formats with a video editor for newbies
A compact OCR tool to extract the text from screenshots, 100% accuracy guaranteed